Tuesday, October 8, 2019

Red Thread?

Did you see that Kirsten is quilting her quilt with red thread?  It should look very interesting when completed . . .whenever that happens.  She is hand-quilting it. Yikes! 
This is a close-up of Kirsten's hand-stitched red quilting.
 
I am using country sort of fabrics in my Civil War Nine Patch; you know, guitars, chickens, bandana fabric.  I thought I had my quilt top finished, then I decided to add some interesting old timey style borders on.  I used dark blue bandana fabrics on the back.  I, too, have decided to quilt mine with red thread, as I and a friend were discussing the matter and she said it was a good idea.  We shall see how the two compare.  I admit, mine may not be as bold as Kirsten's, but that is because I have stitched-in-the-ditch.  I just finished it last night. I used a blanket stitch, that my sewing machine has, to sew down the binding on the front of the quilt.  I love it!
The dark blue paisley binding is sewed down on top with red blanket stitches.
I made the backing a little bigger than the front and pulled the back forward and folded it to make the binding.  I call it a "cheaty binding", but some folks call it something else.
Here is me, holding up my finished Civil War Nine Patch quilt.
 
Then, here is some news.  Jane is catching up and is also doing a Civil War Nine Patch quilt.  She won't give us a hint on her theme, though.  Astrid said she has some bright orange fabric, that a friend gave to her.  She serged it, washed it, and got it all pressed, and apparently that is one of the fabrics going into her quilt.  Astrid said it may be from the 1970s!  Well, that will be different.

It seems I am the first to complete my Civil War Nine Patch quilt.

Tuesday, August 13, 2019

Hand Quilting A Must When Roughing It


I went camping with friends, last Thursday through Sunday.  We stayed at the Lafferty Campground, which is 22 miles northwest of Council, Idaho.  We had a relaxing time.  We went exploring and for walks, and I went wading in the creek.  There was a rabbit in #2 and a rabbit in #3; we were in #8.  There was no one else at the campground, except for chipmunks and Mr. Snake. I had time for napping, reading while napping, and napping while reading. 

I also did some hand quilting.  Marsha, Astrid, and I are doing The Civil War Nine Patch Challenge.  I have my quilt top all pieced and I am hand-quilting it.  I brought it on the camping trip to work on, since we are roughing it and have no electricity.  


I tossed my camping quilt on a nice warm rock, after I asked that nice little garter snake if I could sit on one of his rocks, where I sat and got a good amount of hand-quilting done.  I still have a long way to go, however.

Saturday afternoon we had a thunder and lightening storm with lots of rain, so we stayed in the camper, where I did a little more quilting.  It is starting to look rather rustic, like a Civil War quilt should.

Saturday, May 18, 2019

Civil War Nine Patch Challenge

The girls and I found a book with some wonderful period quilts in it.  We have all perused it's pages thoroughly and decided we would each make a Civil War nine patch quilt.  I am using fabrics that are rich in the tone of the Civil War period, while Marsha has chosen to use western type fabrics, and Astrid is using her Asian fabrics, mostly Japanese and Korean.  Jane is still busy quilting all of her January tutorial quilts, but will be surprising us with whatever she decides to do with this challenge.
We all met the other week and got our first block finished (except for Jane), so Jane took our photo with our blocks.  This shows the different style that fabrics play in creating quilts.
L to R: Kirsten, Marsha, Astrid
I have never hand quilted, so I have decided to hand-quilt my Civil War nine patch quilt.  I think this is going to be exciting! Oh, I do realize it will take me longer to finish mine, since it will be hand-quilted.  I better get to work!!

Sunday, April 21, 2019

Happy Easter!

Marsha and Willa invited me over for a little Easter lunch today.  We had a fun and relaxing time.  Marsha gave Willa a quilt for Easter.  Marsha has named the quilt "Spring Batik".  Here they are, showing it off for me.  I think it is lovely.
Happy Easter!

Sunday, March 24, 2019

Churn Dash Quilt Completed By Kirsten!

While Jane was busy making tutorials, I was busy working on a churn dash quilt.  I have done several Shoo-fly quilts, but never a churn dash.  I like how it came out especially the loop-de-loos I quilted in the border fabric.

All the shoo-fly quilts I made had sashing in between the blocks. I decided not to do that with the churn dash. I don't want all my quilts to look the same.  The blocks in this quilt are commonly known as churn dash or monkey wrench.  I also received some good feedback on my choice of the wavy stripe border fabric.  Hmmmmm, what to do next . . . .

Monday, March 4, 2019

My How February Flew By!

Jane has just been a quilting maniac.  After she finished her January tutorials, she made another rail fence quilt and completely finished it.  It is for Cassie, a friend of a friend.  I have to admit Jane did a smashing job on it.   She already gave it to Cassie in mid-February.
That bit of Grunge Basic aqua fabric really pulls this together, but I really love the gray with red flowers background fabric she used.  This is Kirsten posting on Jane's latest completed project.

Thursday, January 31, 2019

Session 3, Jane's January Tutorials

Gosh! I am cutting it close.  This third quilt, although made completely of blocks already made, got a little out of control.  Remember those extra 16-patch blocks?  I decided to start with them, in a row down the center.  I may make another quilt with only three in the row down the center.  I used four in this one.  So, get those orphan blocks out! My favorite quilters, Freddy Moran and Gwen Marston call it the "Parts Department".  Go to your Part Dept. and find some of those four patches and whatever else you have and put them up on the design wall with your 16-patch blocks.
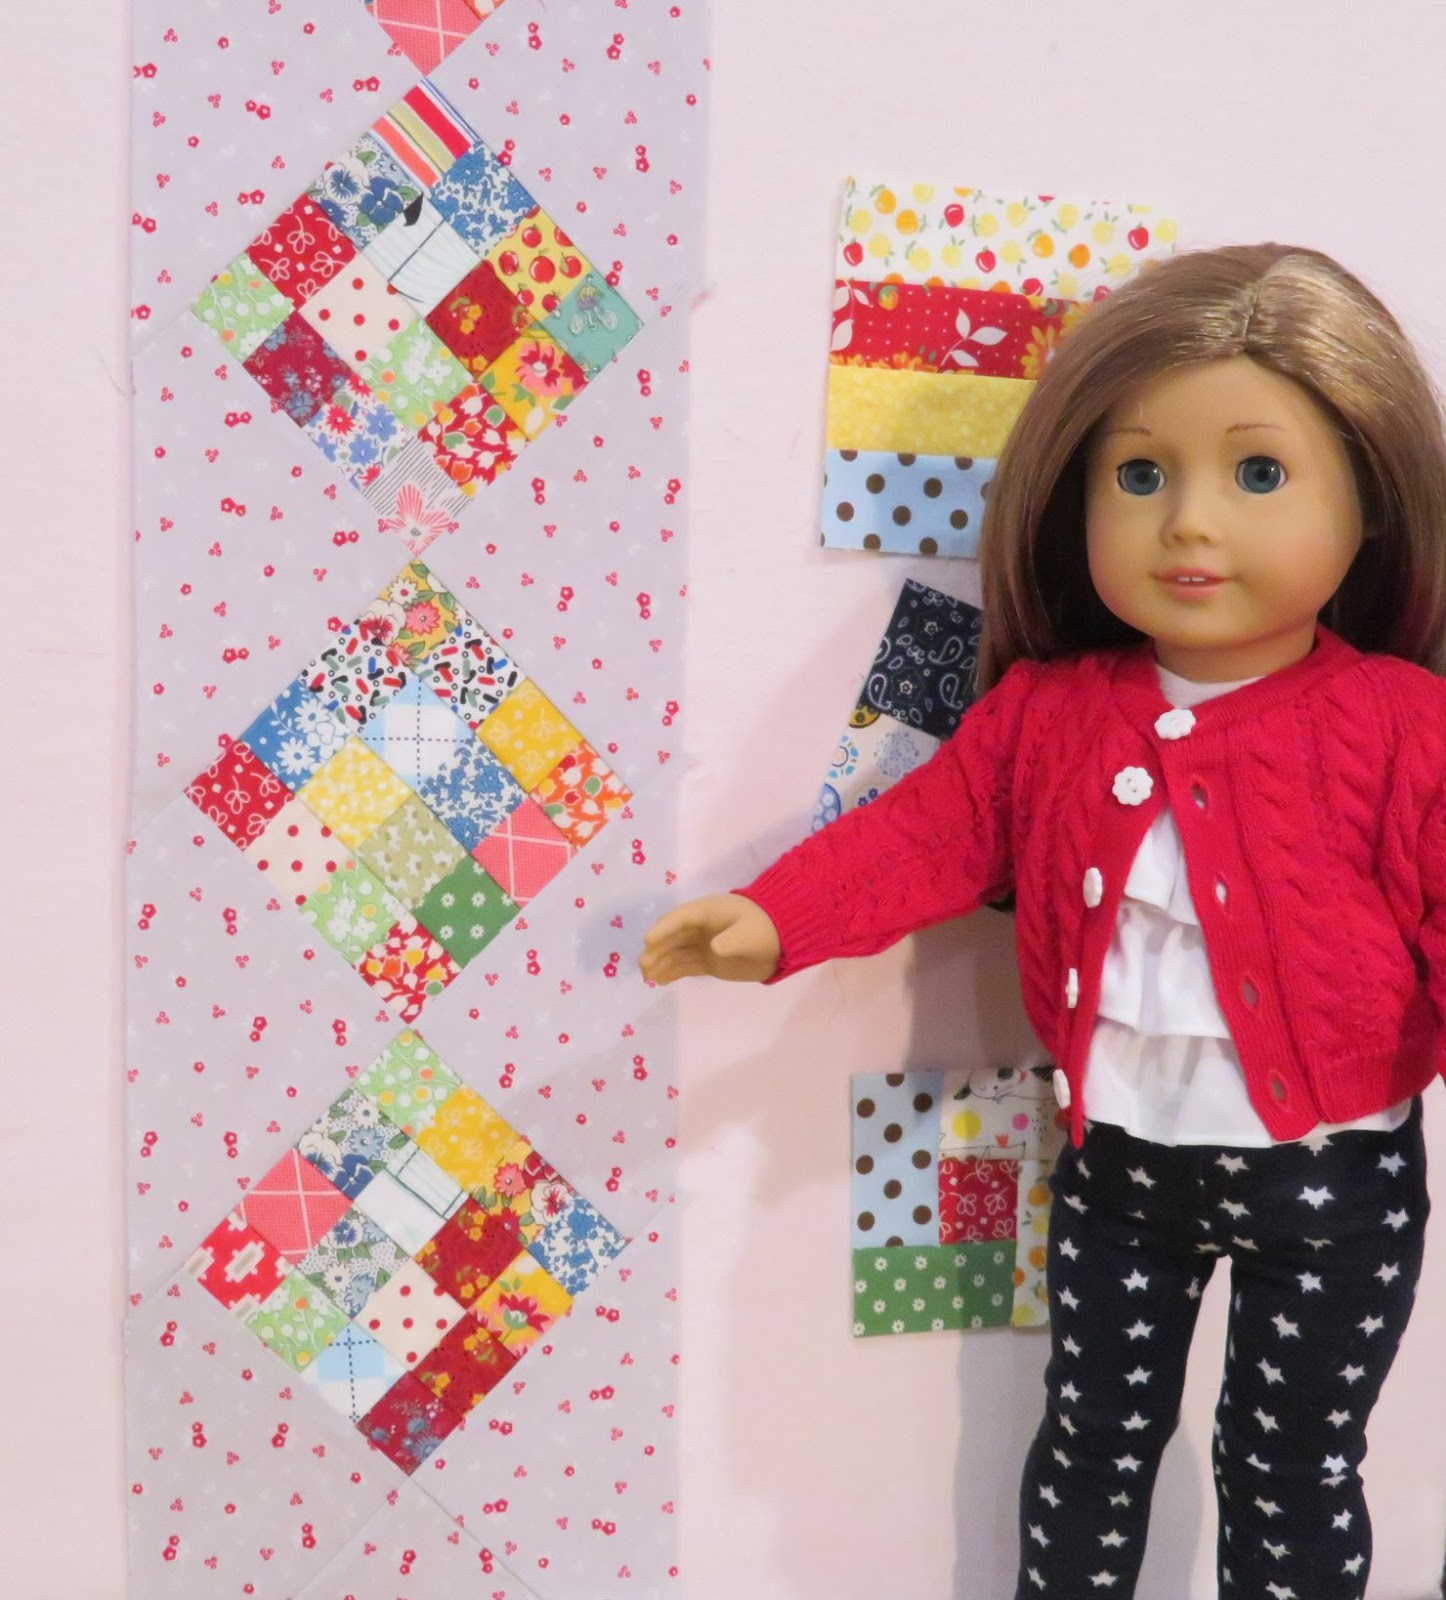
Here are my 16-patch blocks on point, on my design wall.  I am making a vertical row quilt.  I have chosen a gray with little red flowers as the background fabric.  I will also be using some left over rail fence blocks, some four-patch blocks, and some of my off-set frames blocks that look like log cabins.  You can use whatever you have that kinda goes with the color scheme of the majority of your blocks.  This quilt may seem to take a little longer, due to you are designing as you go.  I love designing as I go!
Look back at Session 1, to review how to piece these sixteen-patch blocks on point.  I like having a little extra background sticking out, so I can be flexible with my planning.  It turns out four of these on-point is fairly tall, so I will be cutting the top and bottom down a bit. You can see I have plenty underneath the bottom block.
I have put a bunch of blocks, in vertical rows, on the design wall on both sides of my on-point blocks.  I see I will have some not-coming-out-exactly-even rows.  The great thing about this design is it's thirties and forty-ishness.  You can use what I call cheaty blocks to make up the extra length in the rows.  Or you can make a couple of the blocks in the rows, a little taller (longer), but you will have to make fresh blocks to add in for that. 
I have rearranged my rows to see how I like it this way, but it still seams a bit busy.  I think I will cut a couple solid strips of the gray background to break up the busyness.

Okay, I have sewed the blocks in the two rows on the right together.  You can see that they have shrunk up quite a bit.  I think I can add two more to the narrower row and maybe a three-strip section to the bottom of the rail fences row.  I know I will need to do the same on the left side.  I have not sewed them together yet.
I have cut a couple of gray strips to add in, and have rearranged my rows again.  I think this is the most pleasing design. I did sew the cheaty three-strip section on the bottom of the left rail fence row.  Whatever is left hanging off the bottom, I will trim off when I square up the quilt top.
This view shows it all sewed together with the raggedy bottom edge.  Now it is time to square this puppy up!  I laid it on my cutting board and put the top edge on my right.  I squared up the top edge first, then keeping the top lined up straight, I cut the bottom straight.  I did the same to both sides.
Here it is all squared up!  The full view of the finished quilt top.  Kirsten took the photos.  They are a little from the side to get the best light. I think the colors of the fabrics came out well that way.
I am showing off my fabulous new Sixteen Patch Vertical Row Quilt.
It is a little larger than the others, but it will fit better on my big bed!
Thank you for checking out my January tutorials!