Showing posts with label quilt-as-you-go. Show all posts

Tuesday, May 14, 2024

Jane's Confetti Quilt: Pockets Full of Posies

Jane here.  I have been looking through some of the amazing quilts that Kirsten has completed, and I got inspired.  One of my favorites is her confetti quilt.  The quilt is constructed by making the back, cutting the batting to fit the back, and making a solid top.  You sandwich those three pieces first, then you cut smaller pieces of fabric to just sew on to the top of the sandwiched layers.  The stitching that you sew around each small piece, is also the stitching that quilts the whole sandwich together.  This is known as "killing two birds with one stone", or "quilt-as-you-go".  

It is just another way to quilt-as-you-go.  The pieces, sewn on top, just have raw edges, and that is okay.  You could just use a bunch of small scraps to stitch on the top, and you would not have to cut any fabric down.  I used some scraps on mine, just the size they were, but I also fussy cut some flowers and some pocket shapes.  I, also, overlapped some of my pieces.  It is the same type of technique as Kirsten's, but they look completely different.  That is one of the great things about quilting.  You can add your own style!  To view Kirsten's confetti quilt, click here.

Monday, January 15, 2024

Jane's January Tutorial

This tutorial will teach you how to make a Kawandi quilt.  An important part of Kawandi quilting is using what you have on hand.  Use fabrics, thread, and batting that you have on hand, if at all possible.  You can cut up old clothing, if you do not have any fabric scraps.  Go to the thrift store.  If you have a sewing machine, use it.  If not, sew it by hand.  

The odd thing is, in 2023, I did my tutorial on "quilt-as-you-go".  It turns out that Kawandi quilting is just another way of quilting-as-you-go.  The great thing about Kawandi quilting is:  you finish the binding first!

This is a great way to use scraps.  If you have scraps, use them.  If you don't, ask for a bag of scraps from a quilting friend.  If you have no quilting or sewing friends, what a great opportunity to make some!  Trust me, there are tons of quilters out there, who would love to give you some of their scraps.  Ask on Nextdoor or the local quilt guild.

1) Cut a piece of batting the size of the quilt you want to make. (you can use good quality flannel, if you don't have batting)

2)Cut some backing fabric that is a half-inch larger, in each direction, than the batting.

3)Lay your backing fabric face-down.  Place the batting on your backing fabric so equal amounts of fabric stick out on all four sides.  You can either pin, stitch-baste, or spray baste the batting to the backing.

4) Turn and press the edges of the backing over, to the top side of the batting.  When this is done, you are ready to add your fabric scrap patches to the top.

5) Start with a full bobbin that matches the color of your backing fabric.

I recommend using a walking foot to make this quilt, particularly the first time around the outer edge.  Sew a 1/8 inch from the edge.  You will see how close I get (to the edge) in about six photos down.
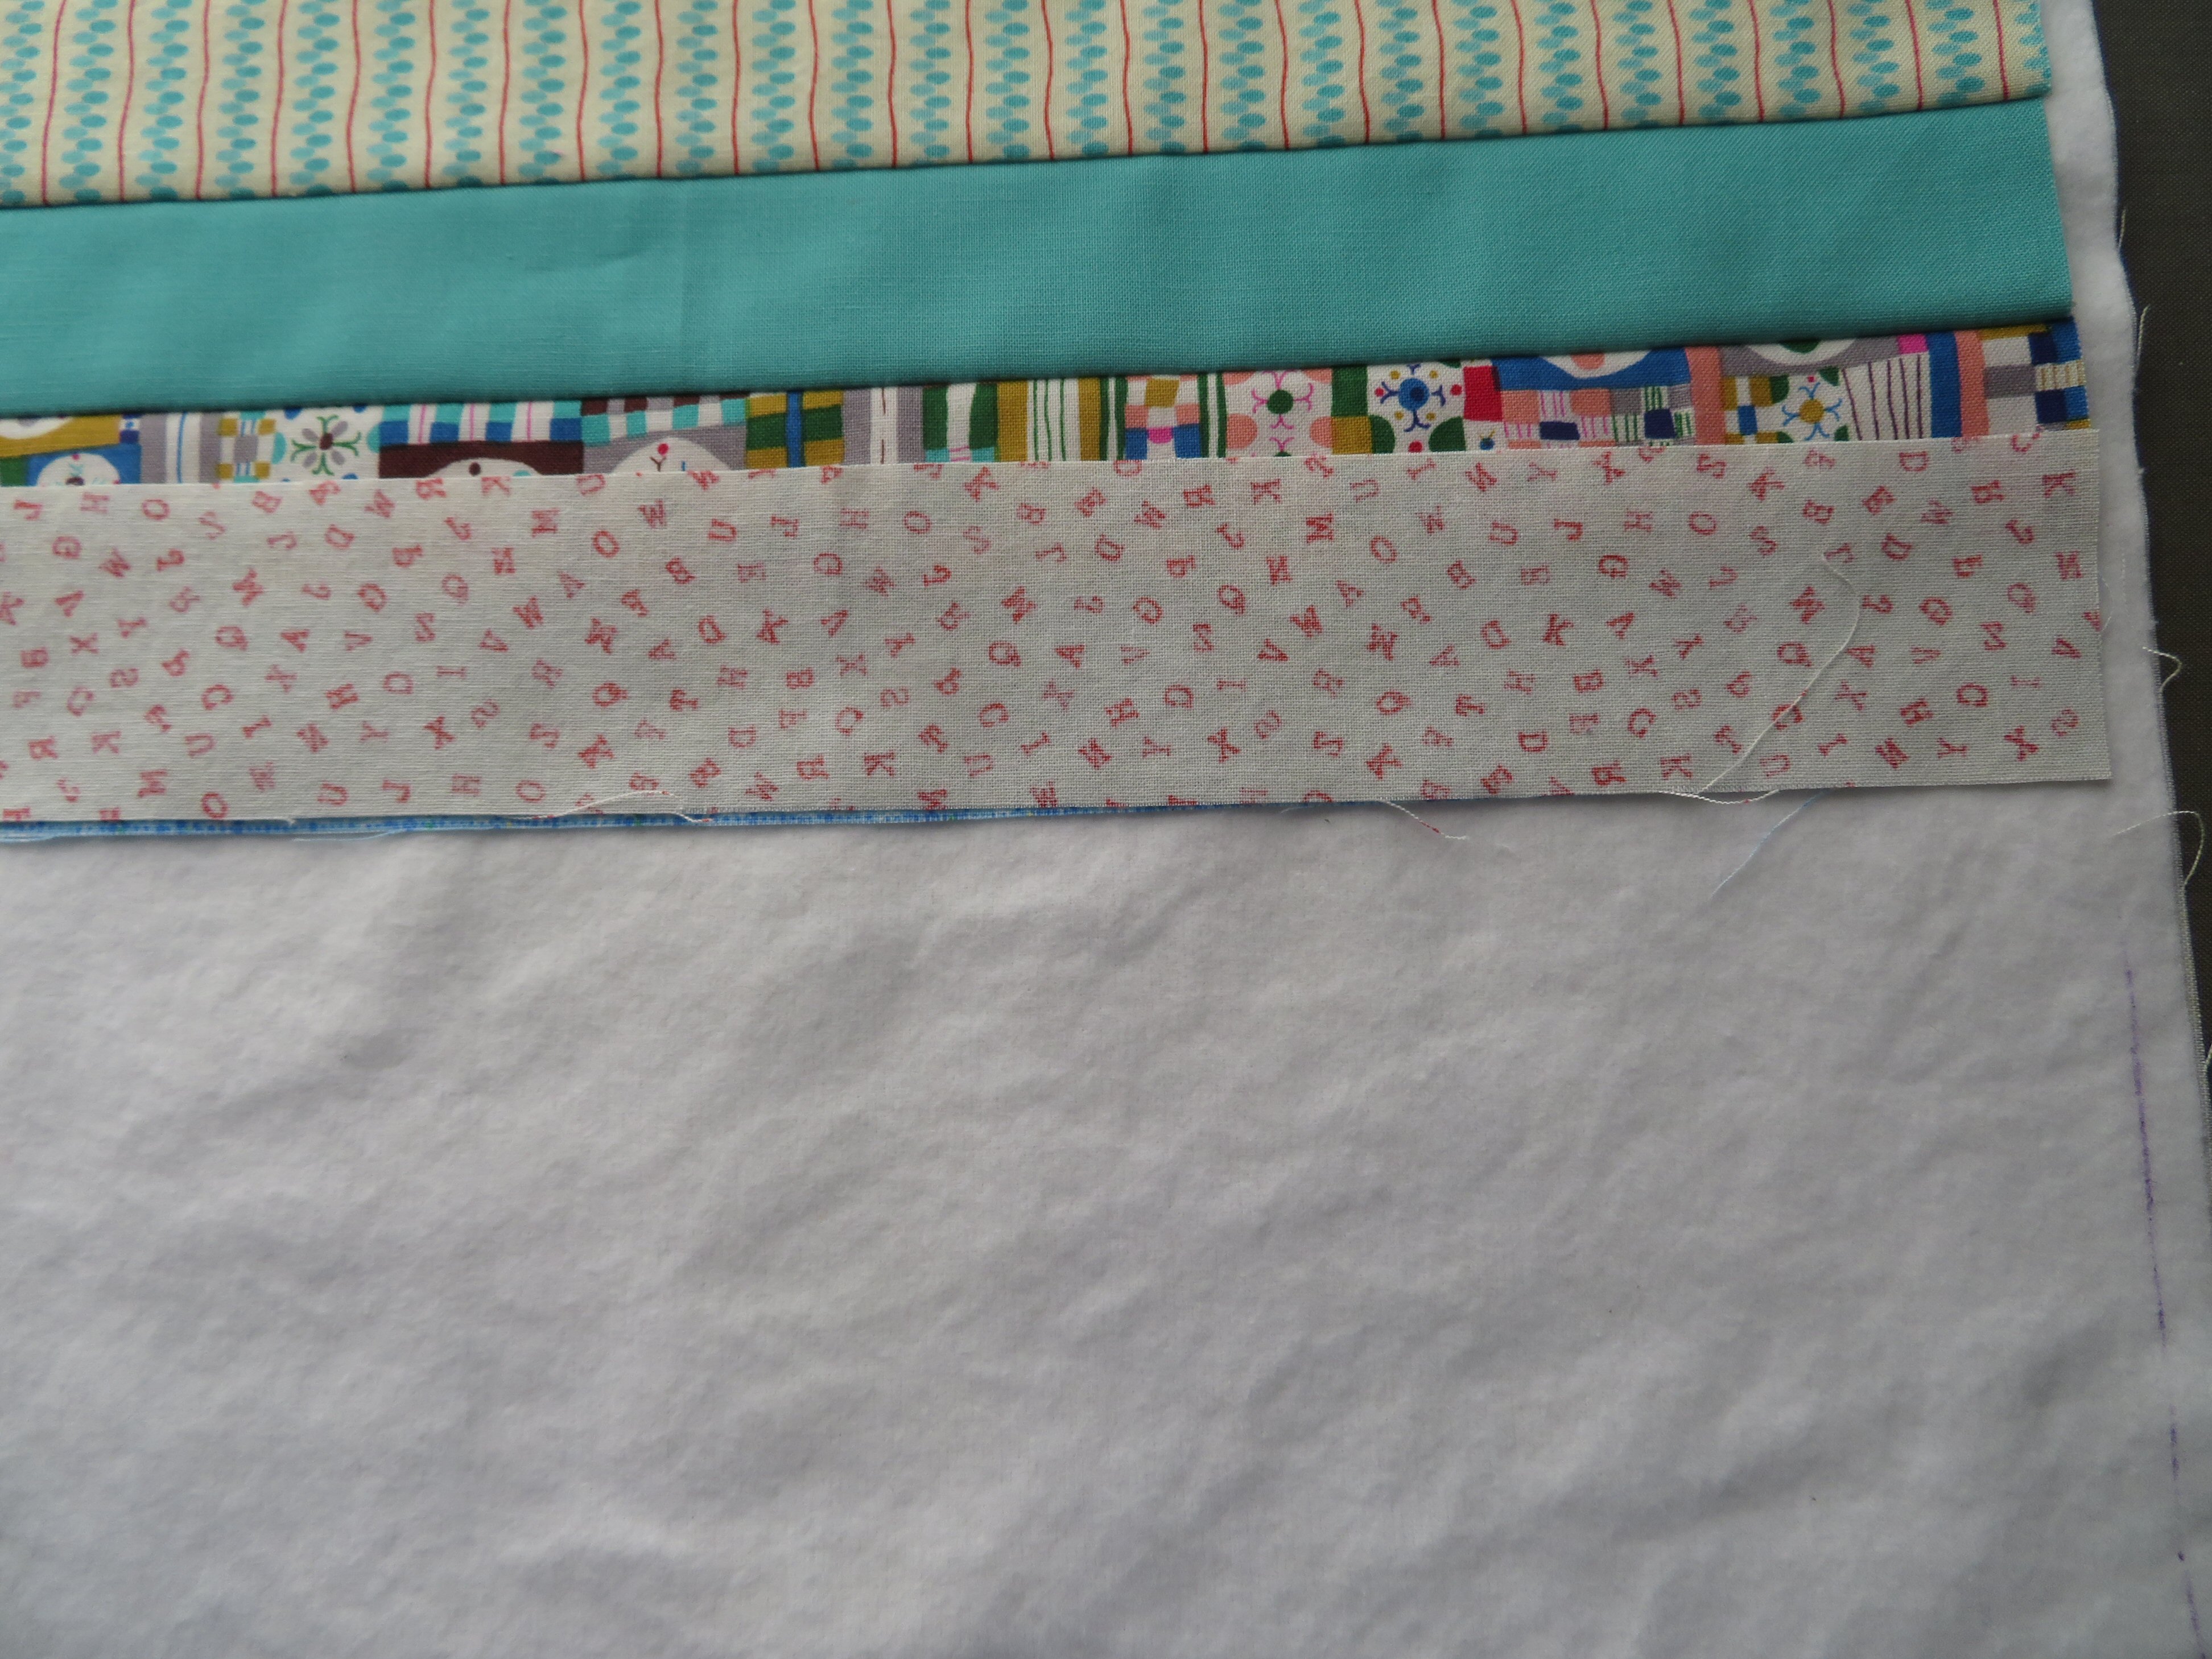

6)  Decide which few fabric pieces you want to start with, then press under two sides of each fabric patch.  One will go on the edge of the quilt, and one will cover the raw edge of the previous placed piece.

This is my starting piece.  Flip it to match the corner, as in the next photo.

Making a Kawandi quilt is like putting together a puzzle: you start with all the edge pieces first!

I placed my first piece at the bottom left of the quilt.  I am always directional, and that is my hang-up.  You can start at any corner you want.

7) start sewing at the corner. See the photo, above.  It looks like I am about to run out of fabric . . .so I will add another piece.

8)  Place the next piece of fabric with one turned edge overlapping the raw edge of the prior piece, and the other turned edge along the edge of the quilt.  Then continue sewing along the edge of the quilt.


9)  Just keep going, in this same fashion.  When you come up to the next corner, you will need to turn under three sides of your patch, so you can effectively go around the corner.  After you have turned all the corners and are making the last patch to join up to the first patch, the last patch will have to have three turned under sides, so the last piece edge can lay over the raw edge of the first piece you sewed down.   nb:  you can always do it the other way round, as long as one of the pieces has a turned edge to cover a raw edge. 

Let’s pause here.  Back stitch and snip your threads.  Have a look at what you have so far. 

It should look something like this.  You can celebrate because the binding is all done!

This photo shows how close I got to the edge of the quilt.  Since the quilt was placed on my design wall, to photograph, it is hard to realize the fabric on the left is not part of the quilt.  It is my design wall.

I flipped up the edge of the quilt, so you can see what it looks like on the back, at this stage.  See how close the stitching is, to the edge.


10)  Use the width of your presser foot to create more quilting that runs straight and parallel to the previous seam you put down.  You can adjust your needle more to the right, if you wish to make it ¼ inch between stitch lines.  *I left mine a little wider, but next time I will not.

11)  Go all the way around, pivoting at the corners. Then start the next stretch of quilting, still using the width of the presser foot as a guide.  This photo makes it look pretty straight.

12)  Sewing up to the narrowest piece . . .  Just add another patch.  Snuggle the new patch around the turned edge of the one you need to extend.  


Just keep sewing around, placing patches as you go.


13)    Keep a few things in mind, as you piece/quilt your quilt top:

1) look ahead and see where you might want another piece of your favorite fabric. You can always safety pin it to the location you want it in, so it is there when you get around to that point.  2) be on the lookout for raw edges, make sure they are covered with a turned edge.   3)sometimes you need three turned edges on a piece.  4)  You can place a larger piece of fabric in the middle, like Astrid did on hers (below).  Then you continue to frame the central piece with turned edge pieces. 

Astrid used an interesting piece of fabric for her focal point, a little off-center.  If you choose to do this, just make sure the pieces that overlap the central piece, have turned edges.  You can click on the photos to enlarge them.

Here I just turned a corner, note how I did not put another long piece next to the brown and orange?  I put the pink mottled piece, then a b&w piece.  This is a good way to break up the design a bit.

Just keep going.

I feel like I am about half-way done.  As I add pieces, I think about if I need a light, a bright, or a dark next.  I practice "planned randomness".

I also practice “inventive stitching”, which one can use as an embellishment, if the need arises.  I decided the corners on this black bit of fabric needed to be secured, so I stitched a square here.  I used this maneuver as a reason to make four more, as embellishments, but I needed them.

Here is the end result of my labors.  As soon as I sewed the final piece of fabric on, my quilt was finished!  That last piece was a bit tricky, because I thought I could have one turned edge, and the other three would go beneath the neighboring turned edges, but it was not to be.  My final piece has four turned edges.


 If you look carefully, you can see I used three of the large orange butterfly prints in a random layout.  The one with the angle is my favorite.


Tools I found helpful with this quilting process: purple thang and unicorn tweezers


*Let’s talk about all the stitching we are laying down here.  I see it as having three ways to be handled:

1) just sew the seams straight and if they miss the edge of a piece of fabric, oh well.  That is character.  2) aim to snag as many of those edges as possible so they all lay flat, even if you end up having some not straight lines of stitching.  That is what I did on this one.  It is not that noticeable, and where it is just gives it character.  3) try to only put the next piece of fabric on where it will be “in line” to get that seam right on it’s edge.  I have not done this, but I feel it would remove a ton of character from the quilt.  It is worth a try.  One thing I whole heartedly believe in is “EXPERIMENTATION.”

This shot shows the stitching on the back.  It does not look so bad, even though I jogged a little, one way or the other, to make sure I sewed those turned edges down. 

I really like how this turned out.  I have thought of a couple other ways to vary my outcome, so I am writing them down.  I am excited to make some more.  Experiment! 

Monday, January 23, 2023

Jane's January Tutorial

It is January again!  I am Jane, and I am going to show you how to make a "Quilt-As-You-Go" quilt using strips of fabric.  It is a quick and easy quilt.  As I piece the strips together, I will be quilting the quilt at the very same time.  I think this really saves on thread!

The first step in making a quilt, is to decide on numerous things.  You have to stop and think about what fabrics you have, and which ones you want to put into your creation.  I thought I knew which ones I wanted, but after I sewed the first three strips on, I changed my mind and had to do a little more auditioning before I could continue.  Enough about that now.
First, I decided how large I wanted my quilt to be.  Then, I cut out the backing for my quilt.  Yep, you do this first.  Then cut your batting to be just a little bit smaller than the backing.
Place your backing fabric face-down on your work surface.  Place the batting on top of the wrong-side of the backing fabric.  Either pin or use spray basting adhesive to secure the batting to the backing fabric.  I use spray basting adhesive.  Safety pins work just fine.
I know I want to use that amazing multi-colored fabric in this quilt, so I will choose other fabrics to go with it using the colors that are in my top choice fabric. 
Since you know how wide your batting is, you can cut some strips to audition on your laid-out backing/batting.  Just lay the strips on there and rearrange them how you like.  Remember, a quarter of an inch on either side of the strips will be sewed into the seam allowance, so overlap your strips, a little, so you can kind of gauge how many you will need.
This is what I thought I liked, but then I noticed there is no yellow in my top choice fabric.  It has a gold, but no yellow.  I also decided it did not have enough pop in it, so I tried some of the hot pink that is in my top choice fabric.
Hmmmmm.
I rummaged around and found some gold tone fabric and decided some red would give it the pop, along with more strips of my top choice fabric.  Instead of only three strips, I put in five strips of my multi-colored fabric.  The bottom row strip, I decided to piece, using the cut-off ends of some of the other fabric strips.
Time for constructing this amazing creation:
Using a Sharpie marker and your long ruler draw, a line down the side of your batting.  Place it parallel to the left edge, about a half-inch from the edge.  You will line-up all your strips on this line.  If you do not draw a line, you could end up with your strips straggling back and forth, which is okay, if you want to chop a lot of your quilt sides off, when you square it up at the end.  I don't want my quilt to be any smaller than I have already decided on.  Use a Sharpie, because the Friction pen's marks disappear when you press the strips outward.  
Lay all your strips, in order, off to the side of your backing/batting part.  Chose the two strips in center of your layout, because you are starting in the center and working in one direction, then working in the other direction. Shown above are my two center strips.
Line up with the line. Place the one on top of the other, right sides together.  Pin them to secure them, along the lower edge.  Tip:  I have always pinned to make sure the fabrics do not shift as I sew them together.  Yes, I run over my pins, and it has not been a problem.  I was taught to do it that way in school.  See the next photo to see where the seam was sewn.
You sew through both fabric strips, the batting, and the backing, all at once.
Press the lower strip away from the upper strip (the colorful one away from the blue one).  Then lay your next strip on top of the colorful one and sew it down.

Continue placing strips on, sewing them down, and pressing them away from the other strips.


At this point, the last strip on this end has been sewn down and pressed.  Rotate your project around so the marked line is now on the right-hand side as you look at your project.  
This is the half-way finished mark!  Take the next strip and lay it on the one in the center and continue sewing, pressing, and pinning strips on. 
Keep going!
The last strip is sewed on.  Notice it is wider than the others?  I did that on purpose, so it will reach as far as I want it to, then I can trim the excess off.  Now, it gets pressed out, just like the rest.

The top is trimmed off straight.  Square up the other three sides of your quilt.  
I have squared up my quilt.  It has nice straight edges on all four sides.  It is sewn together and is all quilted!
Go ahead and put a seam on the edge of the top and bottom strips, to keep them from flopping about.  This will make it nicer when you put on the binding. 
This is the back of the quilt.  You can see the quilting here.  Because you press each strip over, after you sewed the seams, the quilting is not seen on the front of the quilt.  It is like magic!
Now all you have to do is make some binding strips and sew on the binding, and your quilt is finished.
Ta-Da!
                            Quilt-as-you-go Variations

I made a quilt-as-you-go quilt last July.  I placed all the strips on an angle.  I still started in the center and worked toward the bottom, then worked toward the top to complete it.  I used strips of different widths, that had more than one fabric pieced to make each strip.  I made long strips and sewed them down, then trimmed them off.
I love this quilt.  Click on the photo and it will enlarge, so you can see the details and fabrics better.
My friend, C, made this quilt-as-you-go quilt.  She cut her strips so that they left about four inches on the left and right edges.  She sewed the strips in the middle section, just like I showed you how.  Then she made long strips for each side, made from pieced half-square triangles.  She sewed the side strips on and pressed them out, just the same.  Looking at it, you would never guess it was pieced/quilted the same way.
I hope you learned a lot from this tutorial.  Please, leave me a comment!